Add Users to Remote Desktop in Windows 10
In this article, we will see how to add or remove Remote Desktop users in Windows 10. This will allow them to make connections to the target computer over the Remote Desktop protocol. By default, only members of the Administrators group (e.g. administrative accounts) have access to RDP. Here we go.
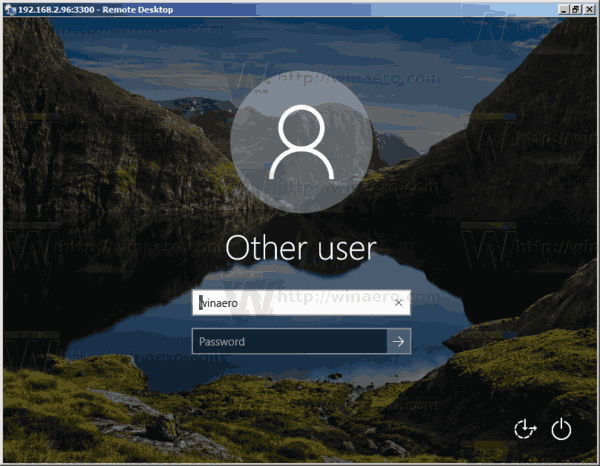
Before we continue, here are some details about how RDP works. While any edition of Windows 10 can act as Remote Desktop Client, to host a remote session, you need to be running Windows 10 Pro or Enterprise. You can connect to a Windows 10 Remote Desktop host from another PC running Windows 10, or from an earlier Windows version like Windows 7 or Windows 8, or Linux. Windows 10 comes with both client and server software out-of-the-box, so you don't need any extra software installed.
First of all, enable the Remote Desktop feature as described here:
Now, you can configure user permissions.
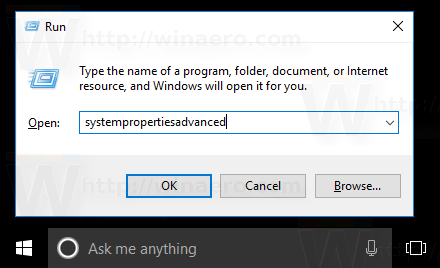
- Press Win + R hotkeys on the keyboard. The Run dialog will appear on the screen, type the following into the text box and press Enter:
SystemPropertiesAdvanced
- Advanced System Properties will open.
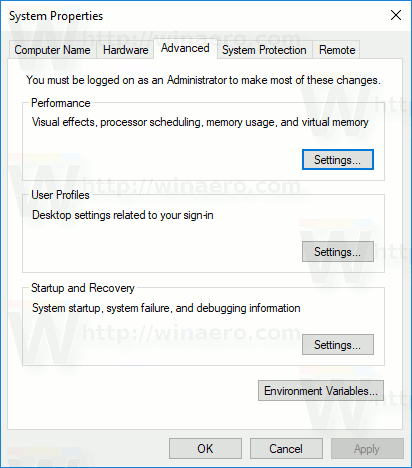
- Go to the Remote tab. There, click on the button Select Users.
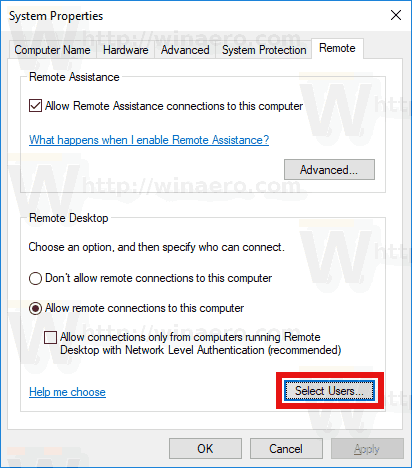
- The following dialog will open. Click on the Add button.
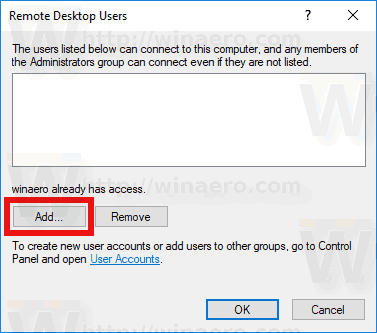
- The Select Users dialog will appear. There, type the desired user name to add or click on the Advanced button to select the user from the list. To populate the list, click on the Find now button in Advanced mode.
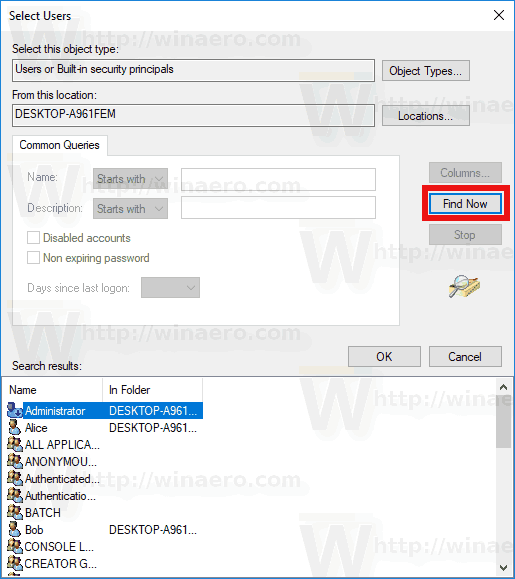
- Select the desired user in the list and click OK.
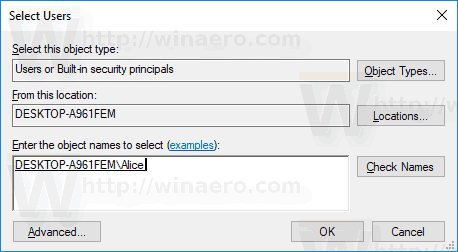
- Click OK once again to add the user.
You are done.
Alternative ways to add Remote Desktop users in Windows 10
There are two more ways to add or remove Remote Desktop users in Windows 10.
You can use Local Users and Groups snap-in
You can use Local Users and Groups snap-in if your Windows edition comes with this app.
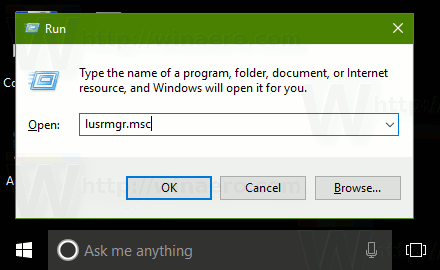
- Press Win + R shortcut keys on your keyboard and type the following in the run box:
lusrmgr.msc
- Click on Groups on the left.
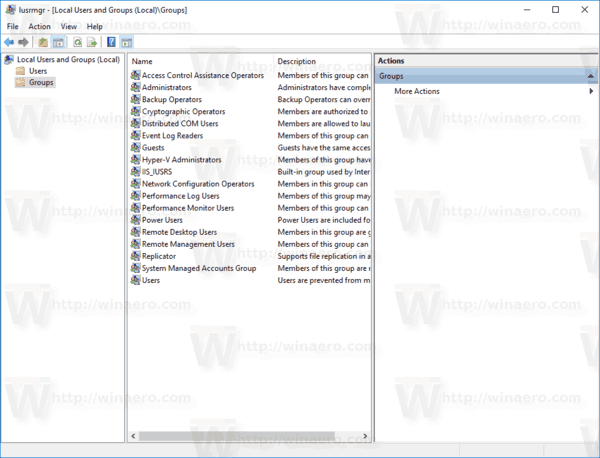
- Double-click "Remote Desktop Users" in the list of groups.
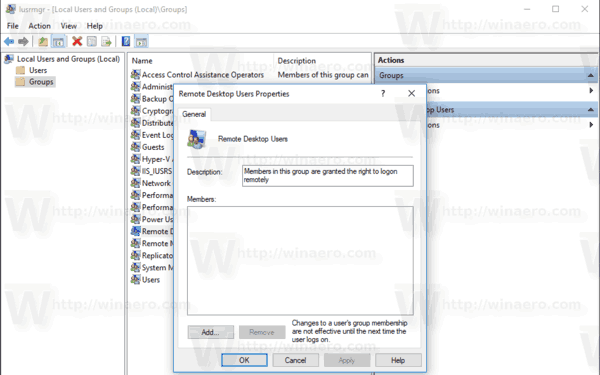
- Click the Add button to add one or more users.
You are done.
You can the net.exe console tool
- Open an elevated command prompt.
- Type the following command:
net localgroup "Remote Desktop Users" "UserName" /add
Replace the "UserName" portion with the actual user account name you want to add to Remote Desktop users.
In my case, the command looks as follows:net localgroup "Remote Desktop Users" "Alice" /add
- To remove a user from the "Remote Desktop Users", substitute the /add argument in the command above with the /delete switch, as follows:
net localgroup "Remote Desktop Users" "Alice" /delete
See the following screenshot.

Articles of interest:
- Remote Desktop (RDP) Keyboard Shortcuts in Windows 10
- Change Remote Desktop (RDP) Port in Windows 10
- Connect To Windows 10 Using Remote Desktop (RDP)


No comments:
Post a Comment